Free shipping £150+ Orders
Best Chemical Peel for Acne Scars a UK Guide
Navigating the world of chemical peels for acne scars can feel overwhelming, but it really boils down to one simple principle: matching the right tool to the right job. There isn’t a single “best” peel. Instead, the most effective treatment is the one perfectly aligned with your specific scar type, its severity, and your unique skin tone.
For lingering discolouration and minor textural issues, a lighter, superficial peel like glycolic or salicylic acid can work wonders. However, if you’re dealing with deeper, indented scars, you’ll likely need a medium-depth peel, such as TCA (trichloroacetic acid), to see a real, significant improvement.
Understanding Chemical Peels for Acne Scars
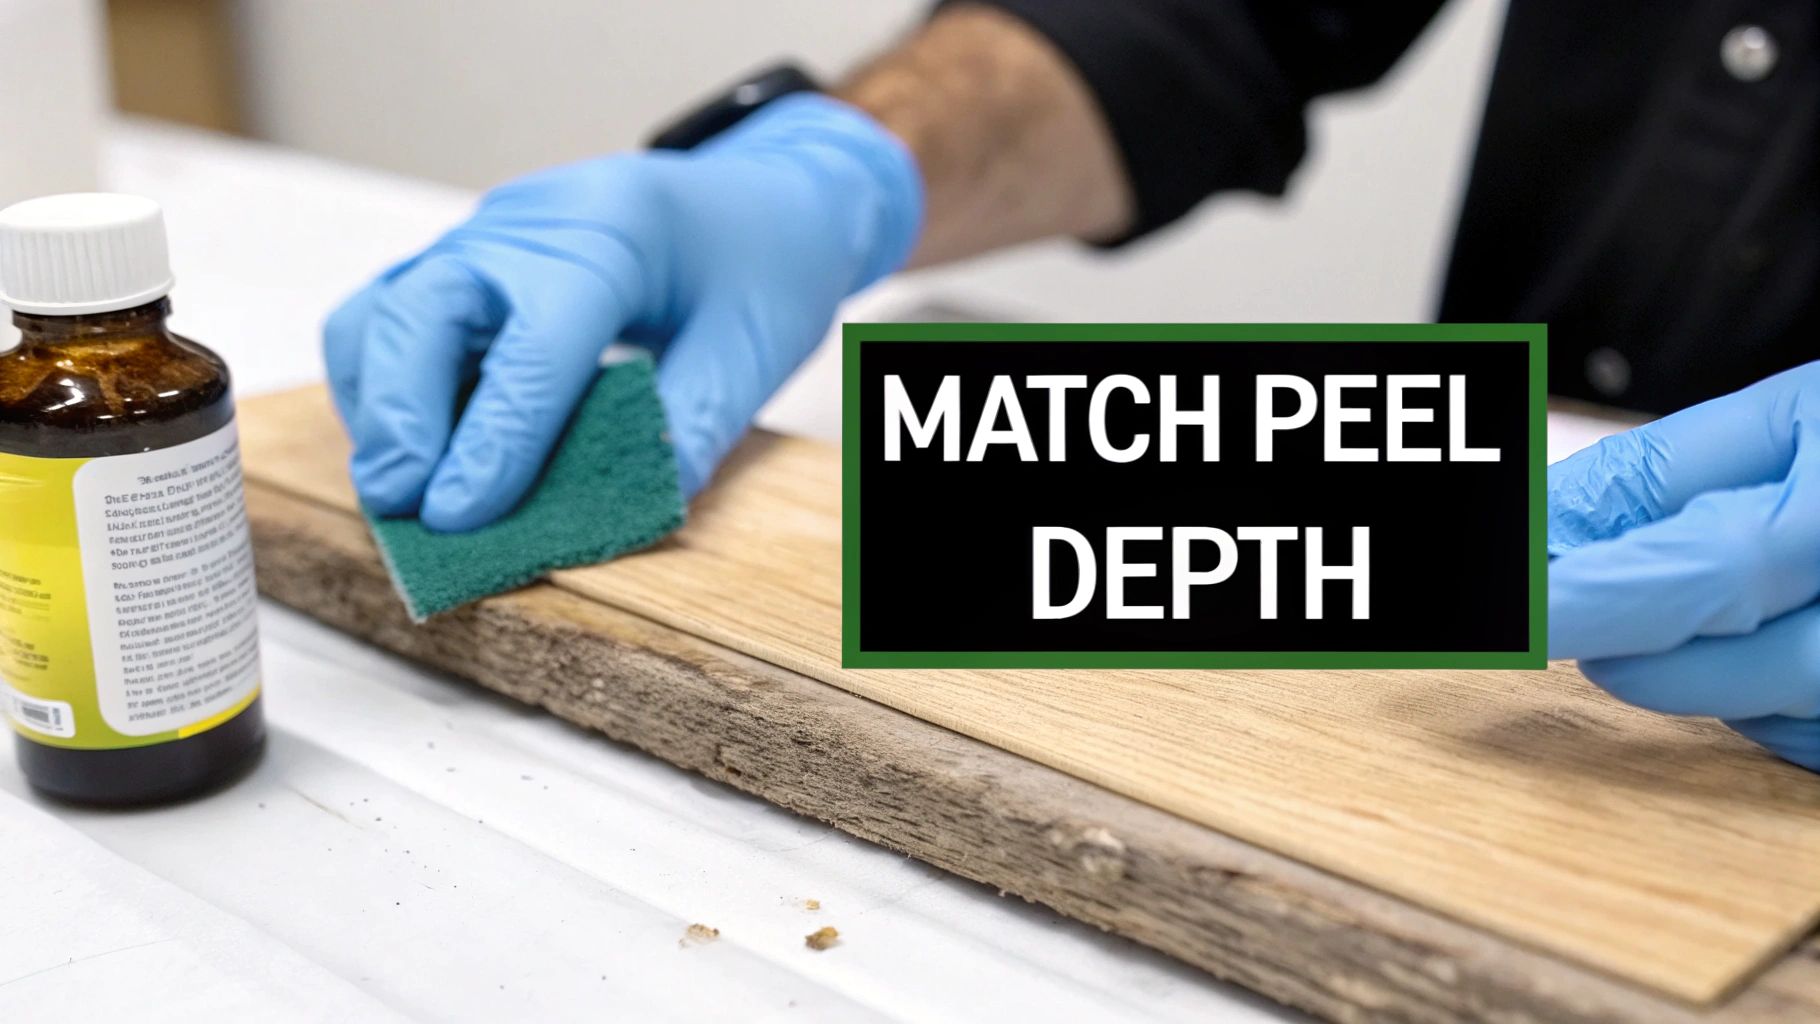
Before we get into the different types of acids, let’s break down what a chemical peel actually does. Imagine your skin’s surface is a bit like a wooden table with some scratches and uneven patches. A chemical peel acts like a very refined liquid sander, gently dissolving and lifting away those damaged outer layers. The goal is to reveal the smoother, unblemished skin hiding just beneath the surface.
This controlled removal process, known as chemical exfoliation, kicks your skin’s natural healing response into high gear. As new skin cells form, your body gets a signal to ramp up production of collagen and elastin—the essential proteins that give your skin its structure and firmness. It’s this remodelling process that ultimately helps to fill in indented scars and fade stubborn discolouration.
The Different Levels of Treatment
Not all peels are created equal. They are typically categorised by how deeply they penetrate the skin, and this depth is directly linked to the kind of scarring they can effectively address.
- Superficial Peels: These are the mildest of the bunch, working exclusively on the outermost layer of skin (the epidermis). They are fantastic for tackling post-inflammatory hyperpigmentation (those dark marks left after a spot heals) and very minor textural irregularities.
- Medium-Depth Peels: Going a little deeper to reach the upper dermis, these peels pack more of a punch. They are the go-to choice for treating atrophic scars, like boxcar and rolling scars, because they trigger a much more robust collagen-building response.
- Deep Peels: These are the heavy hitters, penetrating deep into the dermis. Reserved for only the most severe scarring, deep peels are serious medical procedures performed by dermatologists under close supervision due to their intensity and significant downtime.
Here in the UK, chemical peels are a cornerstone of dermatological treatments for acne scars. Alpha hydroxy acids (AHAs) and beta hydroxy acids (BHAs) are especially popular, prized for offering a great balance of proven effectiveness and safety. For clinics and practitioners, providing clear information is vital; integrating effective patient education resources helps ensure clients feel confident and fully informed. With a growing demand for clearer skin, it’s no surprise that the market for these treatments continues to expand.
Key Takeaway: The “best” peel is all about alignment. A superficial peel won’t make a dent in a deep scar, and using a deep peel for minor discolouration is like using a sledgehammer to crack a nut. Matching the peel’s strength to the scar’s depth is the cornerstone of any successful treatment plan.
To help you get a clearer picture, I’ve put together a quick reference table. This summarises the main peel types and the concerns they are best suited to address.
Quick Guide to Chemical Peels for Acne Scars
| Peel Type | Best For | Typical Downtime | Treatment Setting |
|---|---|---|---|
| AHA (e.g., Glycolic Acid) | Discolouration, mild texture, PIH | 1-3 days | At-home & Professional |
| BHA (Salicylic Acid) | Oily skin, active acne, blackheads, PIH | 1-3 days | At-home & Professional |
| PHA (e.g., Gluconolactone) | Sensitive skin, mild discolouration | 0-1 day | At-home |
| TCA (Trichloroacetic Acid) | Atrophic scars (boxcar, rolling) | 7-10 days | Professional only |
This table is a starting point, but remember that a consultation with a professional is the best way to determine the ideal path for your skin.
Right, before we even think about which chemical peel is best, we need to play detective with our own skin. It’s a bit like a locksmith studying a lock before picking the right key. Getting the treatment right starts with knowing exactly what you’re trying to fix. Not all acne scars are created equal, and they don’t all respond to the same approach.
Broadly speaking, acne “scars” fall into two camps. The first, and most common, is where you’ve lost tissue, leaving a little dip or indentation in the skin. These are called atrophic scars. The second isn’t a true scar at all, but the dark mark left behind after a spot has healed. We call this post-inflammatory hyperpigmentation (PIH). Getting this distinction clear from the outset is the most important first step.
Atrophic Scars: The Indented Ones
Atrophic scars happen when your skin doesn’t produce enough collagen during the healing process after a breakout. This leaves a noticeable depression in the skin’s surface. These are genuine changes to your skin’s texture and, frankly, can be the trickiest to treat. We can break these down even further into three main types, and each looks a little different.
Pinpointing which type of atrophic scar you have is key. It helps you or your skin therapist choose a peel with the right strength and depth to kickstart that all-important collagen production.
- Ice Pick Scars: Think of a tiny, deep hole left by something sharp—that’s exactly what an ice pick scar looks like. They’re narrow, V-shaped pits that go deep into the dermis, often resembling large, open pores. Because they’re so deep, they are notoriously difficult to treat effectively with chemical peels alone.
- Boxcar Scars: These are wider, round or oval depressions with sharp, almost vertical edges. They look a bit like craters and are shallower than ice pick scars. If you’ve ever had chickenpox, the scars can look quite similar.
- Rolling Scars: Unlike the sharp edges you see with boxcar scars, rolling scars give the skin a wavy, uneven texture. They’re wide and shallow, with sloping edges that make the skin look bumpy. This is caused by bands of tissue under the skin that tether the surface down, creating that ‘rolling’ effect.
Post-Inflammatory Hyperpigmentation: The Lingering Marks
The other common issue acne leaves behind isn’t a scar in the textural sense, but a flat mark of discolouration. Post-inflammatory hyperpigmentation (PIH) shows up as brown, tan, or sometimes greyish spots where a pimple used to be. It happens when the inflammation from the spot sends your skin’s pigment-producing cells into overdrive.
PIH is especially common for people with darker skin tones, as their pigment cells (melanocytes) are naturally more reactive. The good news? Since PIH is a pigment issue, not a texture one, it usually responds beautifully to more superficial chemical peels.
Knowing whether you’re fighting deep indentations or surface discolouration is everything. Using a strong peel designed for a deep boxcar scar on simple PIH is not just overkill, it’s risky. On the flip side, a gentle peel meant for pigmentation won’t do much for a deep scar. By figuring this out first, you can have a much more informed chat with a professional and land on a treatment plan that’s both effective and safe for you. Now, you’re ready to match the right “key” to your skin’s unique “lock.”
Matching the Right Peel to Your Scar
Right, now that you’ve got a handle on the type of acne scars you’re dealing with, we can start connecting the dots to find the most effective chemical peel. This is where your earlier detective work really pays off. Think of it like choosing the right tool for a specific job; you wouldn’t use a sledgehammer to hang a picture frame, would you?
This simple decision tree gives you a great starting point, helping you distinguish between surface discolouration and deeper textural changes.
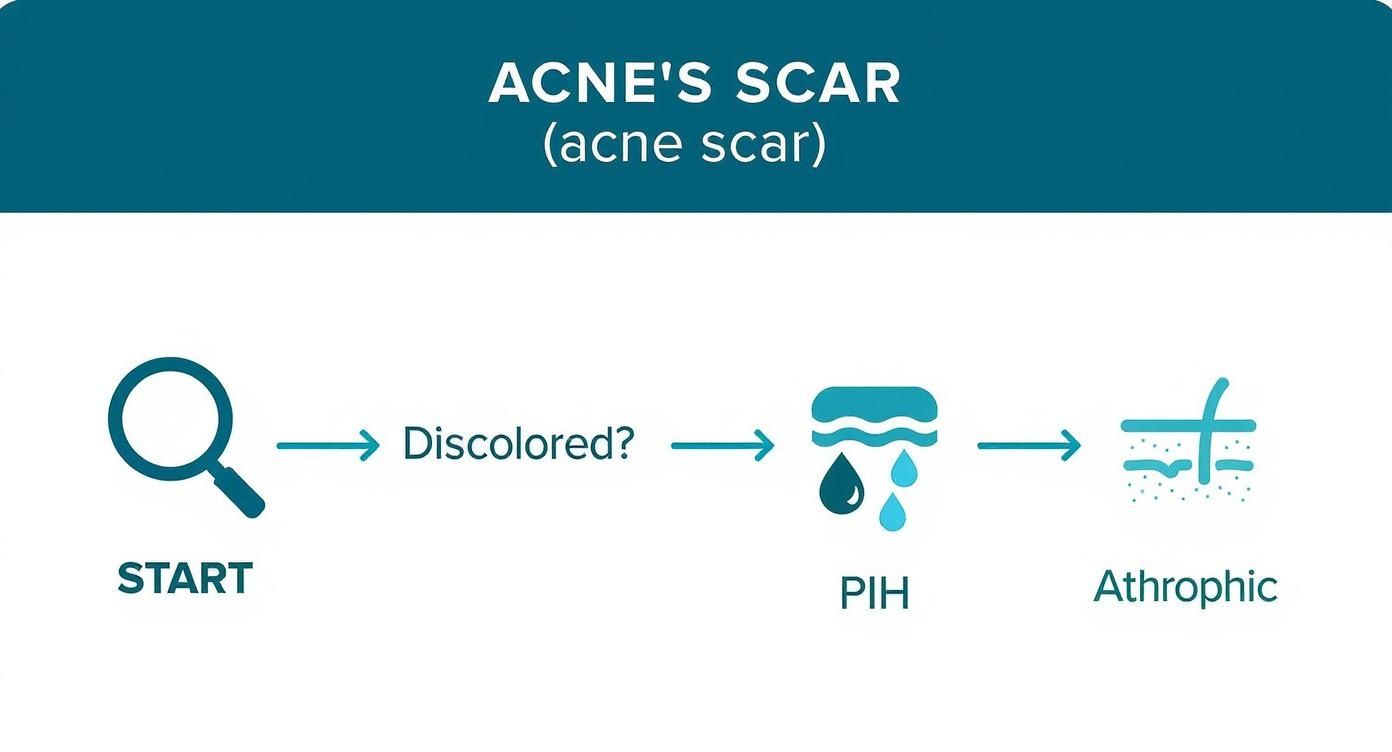
As you can see, the path splits depending on whether your main battle is with pigment (PIH) or actual indentations (atrophic scars). This fork in the road is crucial for pointing you toward the right family of treatments.
Superficial Peels for Discolouration and Mild Texture
Let’s start with the gentlest options. Superficial peels are the absolute champions of surface-level correction. They focus their work on the epidermis—the outermost layer of your skin—which makes them the perfect choice for fading that stubborn post-inflammatory hyperpigmentation (PIH) and smoothing out any minor roughness.
These peels use lower concentrations of acids, mainly Alpha Hydroxy Acids (AHAs) and Beta Hydroxy Acids (BHAs). They work by gently dissolving the “glue” that binds dead skin cells, which encourages fresh, new cells to come to the surface. The result? Brighter, more evenly toned skin shines through.
- Glycolic Acid: This AHA is a classic for a reason. Its small molecular size lets it get to work quickly, exfoliating dead cells and helping to dial down melanin production. It’s a fantastic option for fading dark spots.
- Salicylic Acid: As a BHA, this one is oil-soluble. That means it can get deep inside your pores to clear out debris while also exfoliating the surface. It’s brilliant if you’re still prone to breakouts while trying to clear up the marks from old ones.
- Mandelic Acid: Another fantastic AHA, but with a larger molecular structure. This means it penetrates more slowly and gently, making it an excellent choice for sensitive skin or darker skin tones that can be more prone to irritation. You can discover more about the benefits of a mandelic peel transforms your complexion in our detailed guide.
To see a real difference in PIH, you’re usually looking at a series of superficial peels—typically 4-6 sessions spaced a few weeks apart. It’s less about a one-time aggressive strip-down and more about gently polishing the surface over time.
Medium-Depth Peels for Atrophic Scars
Now, when we move from surface stains to indented, textural scars like boxcar and rolling scars, we need to go deeper. This is where medium-depth peels step into the ring. They work past the epidermis and into the upper part of the dermis, kicking off a much more profound healing response.
The main goal here is to get your skin to produce more collagen. By creating a controlled injury in the dermis, these peels send a powerful signal to your body to rebuild the skin’s underlying support structure. This fresh wave of collagen helps to “fill in” the depressions, lifting the scar floor so it’s more level with the surrounding skin.
And in this category, Trichloroacetic acid (TCA) is the undisputed star of the show.
- How TCA Works: TCA causes the proteins in your skin cells to denature and coagulate, which leads to the peeling of the damaged outer layers. It’s this controlled wound-healing process that really kick-starts the collagen and elastin production needed to remodel scar tissue from the inside out.
- Concentrations: A professional will use TCA in various strengths, usually between 15% and 35%, depending on the scar depth and your skin type. Higher percentages mean deeper penetration and more noticeable results, but they also come with more downtime.
- TCA CROSS: For those really deep, narrow ice pick scars, dermatologists often use a highly specialised technique called TCA CROSS (Chemical Reconstruction of Skin Scars). It involves dabbing a tiny amount of very high-concentration TCA directly into the base of the scar to trigger focused collagen growth right where it’s needed most.
Make no mistake, medium-depth peels are serious treatments. They absolutely require professional administration and involve about a week of visible peeling and recovery.
Chemical Peel vs Acne Scar Type Match-Up
To make things clearer, let’s break down which peels work best for specific scar types. It’s rarely a one-size-fits-all solution, and understanding the ‘why’ behind each recommendation is key to setting realistic expectations and achieving the best results.
| Scar Type | Primary Peel Recommendation | Secondary Peel Option | Mechanism of Action |
|---|---|---|---|
| Post-Inflammatory Hyperpigmentation (PIH) | Glycolic or Mandelic Acid (AHAs) | Salicylic Acid (BHA) | Lifts surface pigment, inhibits melanin production, and speeds up cell turnover. |
| Rolling Scars (shallow) | Medium-strength TCA (15-25%) | A series of strong Glycolic Peels | Stimulates dermal collagen to gradually ‘lift’ the undulating scar tissue. |
| Boxcar Scars (shallow) | Medium-strength TCA (20-35%) | Jessner’s + TCA Combination | Promotes significant collagen remodelling to soften the sharp scar edges. |
| Ice Pick Scars | TCA CROSS (70-100%) | N/A (Peels are not the primary method) | Induces intense, localised collagen formation within the narrow scar tract. |
This table serves as a solid guide, but a consultation with a professional is essential to create a plan truly tailored to your unique skin and scar profile.
The Power of Combination Peels
In the real world, most people don’t have just one type of scar. It’s far more common to have a mix—maybe some rolling scars on the cheeks, a couple of boxcar scars on the temples, and lingering PIH dotted around. This is exactly why a single-peel approach often falls short.
Experienced clinicians know this, which is why they frequently design custom protocols using combination peels. This allows them to tackle multiple concerns within the same treatment plan.
A common strategy might look something like this:
- Start by applying a Jessner’s solution (a cocktail of salicylic acid, lactic acid, and resorcinol) to prep the skin and target any oily, congested areas.
- Follow that with a careful application of TCA specifically on the areas with textural scarring to get that all-important collagen boost.
- In later sessions, a gentler AHA peel might be used to continue refining texture and clearing up any last traces of pigmentation.
This layered, intelligent approach allows a practitioner to tailor the treatment with incredible precision. It ensures each different type of scar gets the exact chemical agent it needs for the best possible outcome—the ultimate personalised strategy for finding the best chemical peel for acne scars.
Professional vs At-Home Peels
When you’re looking into chemical peels for acne scars, you’ll hit a major fork in the road pretty quickly: do you go to a professional clinic, or do you try an at-home treatment? This isn’t just about cost or convenience. It’s about safety, effectiveness, and what you can realistically expect. The right choice really comes down to how severe your scarring is and what you’re hoping to achieve.
Here’s a good way to think about it: an at-home peel is like using fine-grit sandpaper on a piece of wood. It’s fantastic for buffing out minor surface flaws, adding a bit of shine, and keeping everything smooth. A professional peel, on the other hand, is like bringing in a power sander to deal with deep gouges and serious unevenness. It’s a much more powerful tool designed for a complete overhaul.
The Power of Professional Peels
For those noticeable, indented scars—the boxcar and rolling types—a professional-grade peel is almost always going to be your best bet. There are a few solid reasons why clinical treatments can deliver results that you just can’t get at home, mainly because UK regulations limit the sale of high-strength acids to licensed professionals.
In a clinical setting, you get:
- Higher Acid Concentrations: A dermatologist or aesthetician can legally use much stronger formulas, like 20-35% TCA, which are needed to get deep enough into the skin to kickstart the serious collagen production required to fill in scars.
- Expert Application: A trained professional can look at your skin and tailor the treatment on the spot. They might layer different acids or carefully feather the edges to get a smooth, even result. That kind of precision is vital for avoiding problems.
- Advanced Formulations: Clinics have access to complex peel systems, like the well-known Jessner’s solution or other custom blends, which combine several acids to tackle multiple issues at once.
It’s this controlled intensity that makes professional peels the gold standard for genuinely fixing scars.
The Role of At-Home Peels
Now, this doesn’t mean at-home peels are useless—far from it. They’re incredibly valuable tools when you use them correctly. At-home peels are perfect for keeping your skin in top shape between professional sessions, fading any faint discolouration (PIH), and just generally improving your skin’s texture and glow. They typically use lower strengths of acids like glycolic, lactic, or salicylic acid.
When you go the DIY route, safety has to be your number one priority. The risks of getting it wrong are very real and can include chemical burns, lasting sensitivity, or even making pigmentation worse. Sticking to a structured routine is not optional. You can learn more about how to safely use a glycolic acid peel at home in our detailed guide.
Key Takeaway: Professional peels are for correcting deep, textured scars. At-home peels are for maintaining results and managing surface-level issues like mild discolouration. They serve two different, but complementary, purposes.
Understanding the Safety Factor
The biggest difference between the two routes is the safety net you get with a professional. In the UK’s aesthetics market, safety is a huge factor in treatment choices. Studies have shown that a significant number of problems in cosmetic procedures can be linked to chemical peels, which really drives home the need for skilled medical supervision. This is particularly important here, as regulations for non-medical practitioners can be inconsistent, pushing more people towards trusted, gentle options.
In the end, choosing between a professional and an at-home peel requires an honest look at your scars. If they’re deep and textured, investing in professional treatment will give you much better, and safer, results. If you’re just dealing with minor marks and want to keep your complexion bright, a high-quality at-home peel can be a brilliant part of your skincare routine.
Preparing for Your Peel and Nailing Aftercare
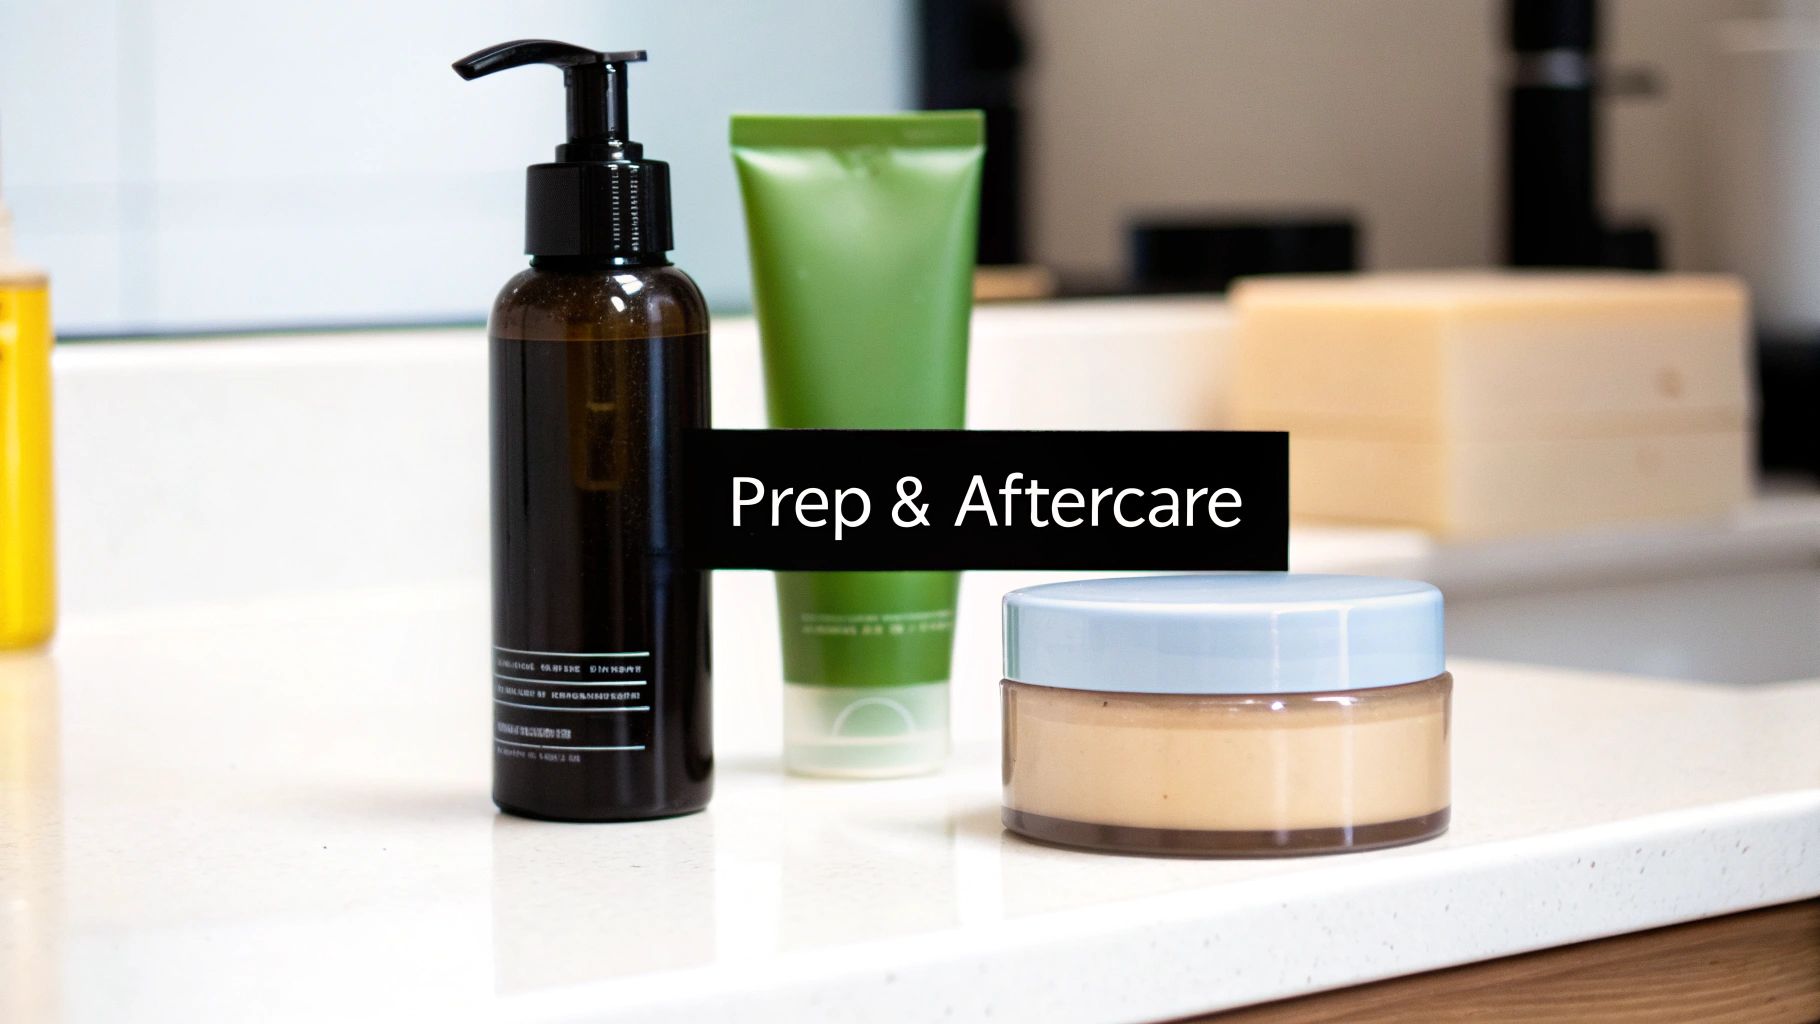
A great chemical peel is a team effort. The results you get are just as much about what you do before and after your treatment as they are about the peel itself. Think of your skin as a canvas; the better it’s prepped, the more stunning the final masterpiece.
This is why your prep work should kick off around two weeks before your appointment. The goal is simple: get your skin as calm and healthy as possible. We want to reduce any background irritation and fortify your skin barrier, which helps it respond beautifully and predictably to the peel.
Your Essential Pre-Peel Checklist
To give your skin the best possible head start, stick to this simple checklist. It’s all about minimising risks and getting the absolute most out of your treatment.
- One Week Before: Put a pause on all your active, exfoliating products. This means no retinoids (like retinol or tretinoin), other AHAs, BHAs, or physical scrubs. Trust me, this step is non-negotiable for preventing over-sensitised skin.
- 48 Hours Before: Steer clear of any hair removal like waxing or depilatory creams on the area you’re treating. These can leave your skin a bit too vulnerable.
- The Day Of: Come to your appointment with a clean, bare face. That means no makeup, no moisturisers, not even a serum.
When you prepare properly, you’re clearing the way for the peel solution to penetrate evenly and get straight to work on the scar tissue, without having to battle through an irritated surface layer first.
Navigating the Post-Peel Healing Journey
Once the peel is done, your skin’s renewal process begins. Knowing what to expect during healing makes the whole experience much less stressful. While the intensity definitely depends on the peel’s depth, a typical medium-depth peel follows a fairly predictable timeline.
Your number one job during this phase is to protect your new, delicate skin. Treat it like a fragile seedling—it needs the perfect conditions to grow strong and healthy. Gentleness is everything.
At first, your skin will likely feel tight and look red, almost like you’ve had a bit too much sun. This is completely normal. Over the next few days, you’ll see the treated layers darken and begin to flake away. It is absolutely vital that you do not pick or pull at any peeling skin. I can’t stress this enough—messing with it can lead straight to new scars and hyperpigmentation.
The Three Pillars of Aftercare
Your post-peel routine should be stripped back to the basics, focusing on three core ideas: gentle cleansing, serious hydration, and uncompromising sun protection.
- Gentle Cleansing: Stick with a mild, soap-free, pH-balanced cleanser and use lukewarm water only. Hot water is a no-go, as are any rubbing or scrubbing motions. When you’re done, gently pat your skin dry with a soft, clean towel.
- Intensive Hydration: Your skin’s moisture barrier is temporarily offline, so keeping it hydrated is crucial for healing. Look for ingredients that soothe and repair, like ceramides, niacinamide, and hyaluronic acid. Something like our Post-Peel Moisturizing Hyaluronic Serum can deliver that deep, calming hydration your healing skin is crying out for.
- Sun Protection: This is the golden rule. Freshly peeled skin is incredibly vulnerable to UV damage. You must wear a broad-spectrum SPF 50+ sunscreen every single day, without fail—even if you’re staying indoors. Reapply it religiously to protect your investment and stop any new discolouration from forming.
Are You a Good Candidate for a Chemical Peel?
So, you’re thinking about a chemical peel to tackle those acne scars. It’s a fantastic treatment, but it’s not a one-size-fits-all solution. Before you even think about booking an appointment, we need to figure out if your skin is actually ready for it.
Think of your skin as a canvas. A chemical peel is a powerful tool designed to resurface that canvas, but for the best results, you need to start with the right conditions. Certain skin types, health conditions, and even medications can completely change the outcome, sometimes for the worse. Let’s walk through what makes someone a good – or not-so-good – candidate.
Skin Tone and the Risk of Pigmentation
One of the first things any good practitioner will look at is your skin tone, usually using what’s called the Fitzpatrick scale. While peels can work wonders on many skin tones, if you have darker skin (typically Fitzpatrick types IV, V, and VI), there’s a genuine risk of something called post-inflammatory hyperpigmentation (PIH).
What does that mean? Well, people with more richly pigmented skin have more reactive melanocytes—the tiny cells that produce melanin. The controlled “injury” from a peel can sometimes send these cells into overdrive, leaving you with dark patches that can be even more upsetting than the scars you were trying to treat.
This doesn’t mean peels are completely off the table. It just means you absolutely cannot DIY this or go to an inexperienced provider. A true expert will know to use a gentler approach, perhaps with an acid like mandelic acid, and will insist on a proper skin prep routine to calm those pigment cells down beforehand.
Important Health and Medication Checks
Your skin tone is just one piece of the puzzle. Your overall health and any medications you’re on are just as critical. Being upfront and honest with your dermatologist here is non-negotiable; it’s all about keeping you safe.
You are likely not a good candidate for a chemical peel if you have:
- Active Skin Infections: This includes things like cold sores (herpes simplex), warts, or any bacterial infection on your face. A peel can easily make them spread.
- A History of Keloid Scarring: If you know your skin has a tendency to form thick, raised keloid scars, a peel could unfortunately trigger new ones.
- Recent Isotretinoin Use: You must be off powerful oral acne medications like isotretinoin for at least six months. These drugs affect how your skin heals, and peeling too soon is asking for trouble.
- A Compromised Immune System: Any condition that weakens your immune response can make healing unpredictable and complicated.
The chemical peel market here in the UK is booming, and a big reason is that new, gentler formulas are making them safer than ever. With acne-related issues making up almost 29% of the skincare market, people are desperate for solutions that work. Milder peels mean less downtime, which is why they’ve become so popular, especially with younger people trying to clear up acne scars. For a deeper dive into these trends, check out this report on the UK skincare market.
Crucial Takeaway: Remember, a chemical peel is a medical procedure, not just a quick facial. Being completely open with your practitioner about your skin, your health, and your medications is the single most important step you can take. It’s what ensures your path to smoother skin is both safe and successful.
Your Questions Answered
It’s completely normal to have a few questions when you’re thinking about chemical peels. Let’s tackle some of the most common ones I hear, so you can feel clear and confident about what to expect.
How Many Chemical Peel Sessions Will I Need for Acne Scars?
Honestly, there’s no magic number. It really comes down to the type of scars you have and how deep they are.
For those lighter marks and minor texture issues, a course of three to six gentler peels, spaced a few weeks apart, usually does the trick. But if we’re dealing with deeper boxcar or rolling scars, you’re likely looking at one to three medium-strength TCA peels, and you’ll need more recovery time between each one.
We’ll map out a specific plan just for you during your initial chat.
Do Chemical Peels Hurt?
What you’ll feel really depends on the strength of the peel. A light, superficial peel using something like glycolic or salicylic acid often just creates a bit of a tingle or a mild stinging sensation. Most people find it very tolerable, and it stops as soon as the peel is neutralised.
A medium-depth peel is a different story. You can expect a noticeable burning or hot sensation for the few minutes the peel is active on your skin. We’ll use cooling fans to make you as comfortable as possible. Afterwards, your skin will feel quite tight and look red, a bit like a sunburn.
Can I Combine Chemical Peels with Other Scar Treatments?
Absolutely! In fact, combining treatments is often the best way to get fantastic results, especially for more complex scarring. Dermatologists frequently build a plan that layers different approaches.
- Microneedling: This is a classic partner to peels. The peel works on the surface colour and texture, while microneedling gets deeper, kick-starting collagen production to physically remodel the scar tissue.
- Laser Resurfacing: For really stubborn scars, we might use a peel to even out your overall skin tone first, then bring in a targeted laser to work on the deeper indentations.
- TCA CROSS: This is a very precise technique for deep, narrow “ice pick” scars. It works beautifully alongside broader peels that improve the texture of the surrounding skin.
It’s crucial to remember that these treatments are always staggered. We’ll make sure your skin has plenty of time to heal properly before moving on to the next step.
What’s the Best Time of Year for a Peel in the UK?
Hands down, autumn and winter are the perfect seasons for a chemical peel here in the UK. With less intense UV and shorter days, it’s just so much easier to shield your healing skin from the sun.
Sunlight is the number one enemy of fresh, post-peel skin. Proper sun protection is non-negotiable if you want to avoid complications like hyperpigmentation. You can have a peel in the summer, but it requires a serious commitment to high-SPF, broad-spectrum sunscreen and staying in the shade.
Ready to start your journey to smoother, clearer skin? Explore the professional-grade formulations at Avera Cosmetic and find the perfect solution to build your pre-peel and aftercare routine. Discover our range of gentle cleansers, hydrating serums, and protective sunscreens at https://beautypage.co.uk.


